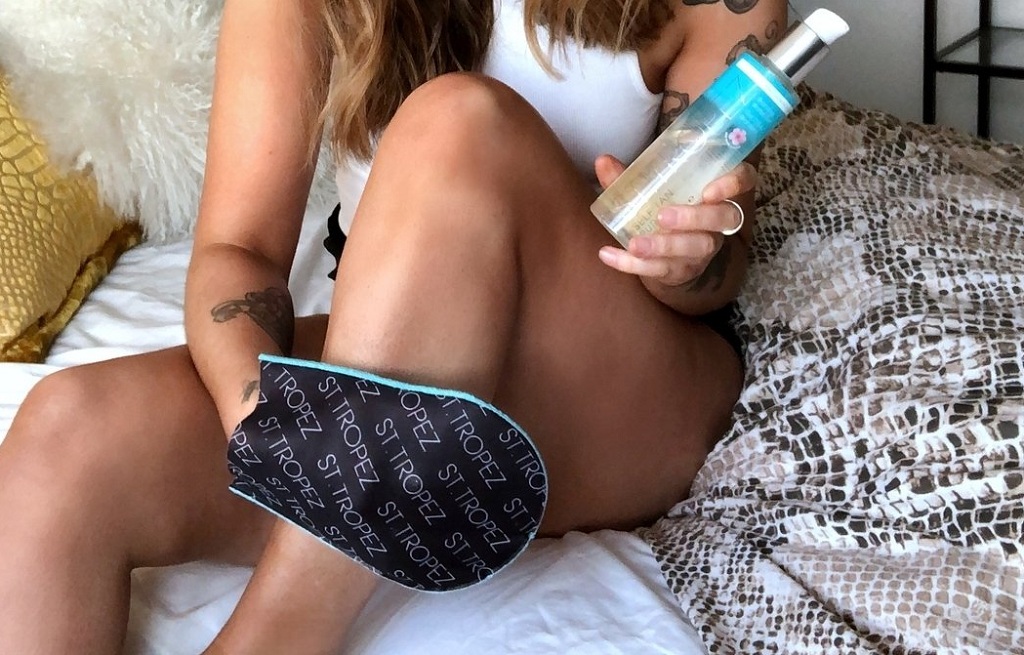
While a tanning glove is normally utilized while applying counterfeit tan, some of the time one isn’t accessible. Have no trepidation! It is very conceivable to apply counterfeit tan flawlessly without a glove. We should inspect a few successful procedures and ideas for ideal execution.Let’s read below”How to Apply Fake Tan Without a Mitt”.
Preparation: The Key to a Smooth Application
It is pivotal to enough set up your skin before beginning the tanning system:
Exfoliation: Begin by utilizing a clean to peel your skin delicately. Center around furrowed regions like the elbows, knees, and lower legs to wipe out dead skin cells and make a smooth surface for the phony tan application.
Moisturization: Apply a light, without oil cream to regions that are inclined to dryness. Guarantee that the skin has completely ingested it preceding starting the tanning system.
How to Apply Fake Tan Without a Mitt
Bare Hands Application:
Use Circular Motions: After the phony tan has been apportioned onto your hands, apply it to your skin utilizing roundabout movements. Begin at the base and move gradually up for even inclusion.
Blend Thoroughly:: Steady work the substance into your skin, zeroing in on a solitary region at a time. This assists with keeping away from streaks and guarantees a completion that looks normal.
Wash Hands Between Sections: Clean up well subsequent to utilizing the item on a particular body part to keep away from incidental stains.
Make Use of Tools You Have:
Sponge or Makeup Brush: You can utilize a perfect cosmetics brush or wipe instead of a glove on the off chance that you don’t have one. Apply the phony tan and tenderly mix it into your skin with a wipe or brush.
Damp Cloth or Towel: To impeccably coordinate the item in hard to-arrive at districts or to tan around edges, fold a sodden material or towel over your fingers.
Special Considerations and Tips
Less is More: Continuously increment how much phony tan you have, beginning little. It is simpler to add more item than to eliminate overabundance.
Work in Sections: Partition your body into little segments, zeroing in on only each in turn, like your arms, legs, chest, and so on. This keeps up with control and guarantees uniform covering.
Light Touch for Delicate Areas: While applying counterfeit tan to regions like the face, neck, and joints, utilize a milder touch and exhaustive mixing for a characteristic completion.
Post-Application Care for a Long-Lasting Tan
Allow Drying Time: To guarantee that the phony tan has sufficient opportunity to completely dry, abstain from wearing tight apparel and reaching textured surfaces exceptionally away in the wake of applying it.
Avoid Water and Sweat: Avoid any exercises that cause sweat or come into contact with water during the suggested advancement time (as indicated on the item).
Hydration is Key: To keep your skin saturated, delay the tan, and guarantee that it blurs uniformly, saturate your skin consistently in the wake of applying counterfeit tan.
Troubleshooting: Handling Common Issues
Streaks or Unevenness: On the off chance that you notice streaks or lopsided patches after application, utilize a light exfoliator to level out the tan or apply a tan remover to the impacted regions.
Overly Dark or Orange Hue: To ease up the tan or correct an orange tone, utilize a tan expulsion item or wash up with light shedding.
Facts
You’ll have to use your bare hands to distribute the adhesive if you don’t have a glove. It’s best to spread the cream out as much as possible and not get too much on your palms. Since this might compromise the effectiveness of the treatment.
It’s possible that applying fake tan products may stain your hands, nails, and cuticles. Disposable gloves can be used to protect hands from spills and provide an even distribution.
Since you’ll be using your hands, more caution is necessary in the mixing process. Lacking the mitt’s protecting coating increases the possibility of stains or other defects.
The knuckles and fingers are typically difficult spots to work with. Be sure to fully blend the lotion around these areas to prevent a tan line.
Elbows, knees, and ankles tend to absorb more product. At first, apply less fake tan to these areas and mix it in completely to get rid of streaks.
Conclusion: Embrace the Mitt-Free Technique
All in all, regardless of whether a tanning glove is only an essential device for applying counterfeit tan, accomplishing a perfect tan without one is very conceivable. By utilizing your hands or different apparatuses, getting practice, and observing the appropriate preliminary rules. I hope you like reading”How to Apply Fake Tan Without a Mitt”.